Adding Agreement |
  
|
Adding Agreement |
|
To add an agreement, perform the following:
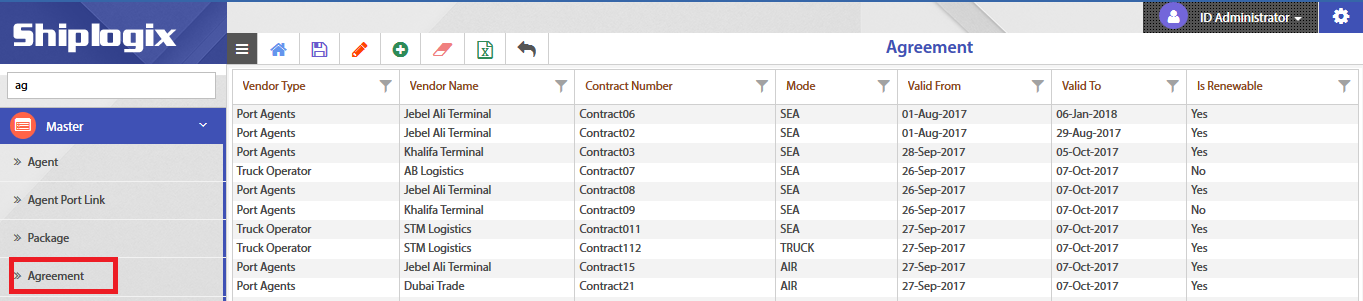
1.On the application home page, in the left pane, click Master Agreement. The Agreement workbench appears on the right pane like the one shown below:
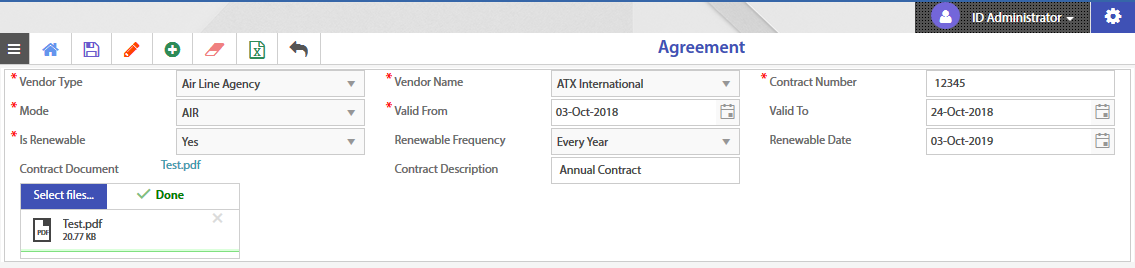
2.In the right pane, click Add (![]() ) icon in the menu bar. The Agreement creation page appears.
) icon in the menu bar. The Agreement creation page appears.
3.Choose Vendor Type and Vendor Name from the respective drop-down menus.
4.Enter Contract Number.
5.Choose Mode from the drop-down menu as SEA, TRUCK, RAIL, AIR, or ALL.
6.In Valid From, choose the date from which the agreement should be valid using the date picker (![]() ) icon.
) icon.
7.In Valid To, choose the date until which the agreement should be valid using the date picker (![]() ) icon.
) icon.
8.In Is Renewable, choose Yes if the vendor agreement type is renewable or No if the vendor agreement type is not renewable. On choosing yes, enter Renewable Frequency and Renewable Date.
9.In Contract Document, click Select files to upload the vendor contract agreement documents for reference.
10.Enter Contract Description.
11.In the menu bar, click Save (![]() ) icon to save the agreement. A pop-up window appears.
) icon to save the agreement. A pop-up window appears.
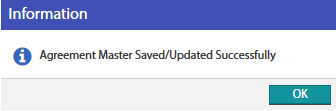
12.Click OK.