Adding Voyage Exchange Rate |
  
|
Adding Voyage Exchange Rate |
|
To create a voyage exchange rate, perform the following:
1.On the application home page, in the left pane, click Master Voyage Exchange Rate. The Voyage Exchange Rate workbench appears on the right pane like the one shown below:
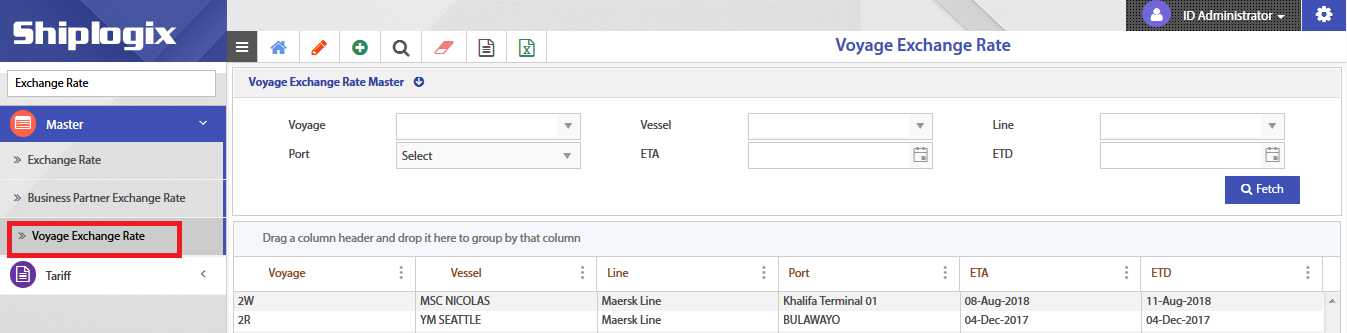
2.In the right pane, click Add (![]() ) icon in the menu bar. The Voyage Exchange Rate creation page appears.
) icon in the menu bar. The Voyage Exchange Rate creation page appears.
3.In the Voyage Exchange Rate Master header, choose Voyage from the drop-down menu.
Note: Vessel, Line, Port, ETA, and ETD will be automatically populated.
4.In the currency tag, perform the following:
i.Click add (![]() ) icon to add the currency type.
) icon to add the currency type.
ii.Under From Currency column, choose a currency type for the exchange rate to be defined.
iii.Under To Currency column, choose a currency type for the exchange rate to be fixed.
iv.Enter Rate(Export), Rate(Import), and Rate (TAP).
Note: By default, Date will be the current date and Status will be ACTIVE.
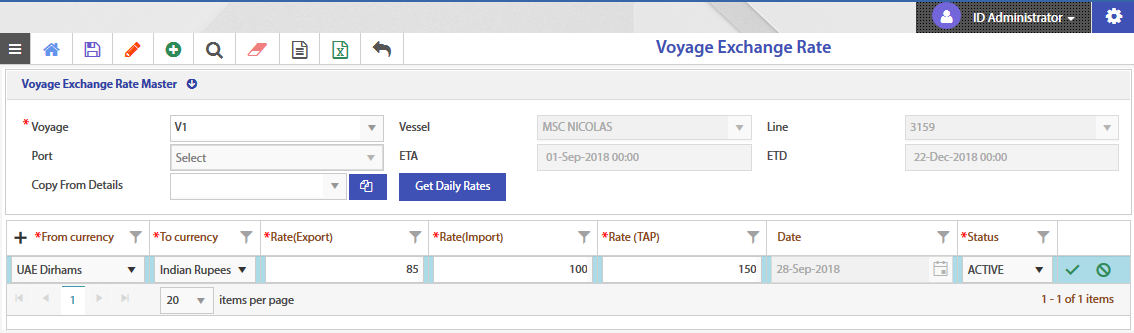
v.Click Save (![]() ) icon to save the currency type.
) icon to save the currency type.
5.In the menu bar, click Save (![]() ) icon to save the master. A pop-up window appears.
) icon to save the master. A pop-up window appears.
6.Click OK to save the master.