Changing Clause Master Status |
  
|
Changing Clause Master Status |
|
Any master created will be in the active status. The created master can only be made inactive.
To inactivate the master, perform the following:
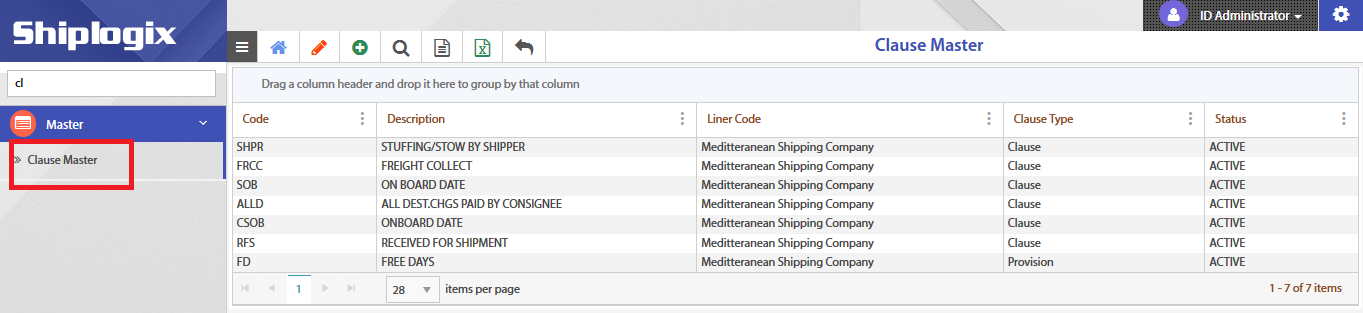
1.On the application home page, in the left pane, click Master Clause Master. The Clause Master workbench appears on the right pane like the one shown below:
2.In the clause master workbench, click Column Settings (![]() ) icon next to any column to find the required clause master.
) icon next to any column to find the required clause master.
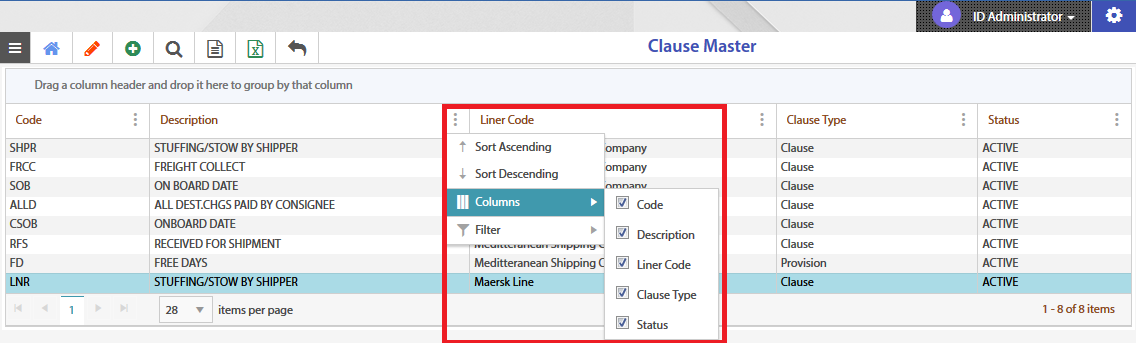
3.Choose any one of the below criteria:
i.Sort Ascending to sort the columns in ascending order.
ii.Sort Descending to sort the columns in descending order.
iii.Columns to enable or disable columns.
iv.Filter to apply filter. On choosing filter, perform the following:
a.Choose Operator from the drop-down menu as Contains, Does not contain, Starts with, Ends with, Is equal to, or Is not equal to.
b.Enter operator Value.
c.Choose Filters logic from the drop-down menu as And or Or.
d.Choose Additional operator from the drop-down menu as Contains, Does not contain, Starts with, Ends with, Is equal to, or Is not equal to.
e.Enter Additional value of operator, if required.
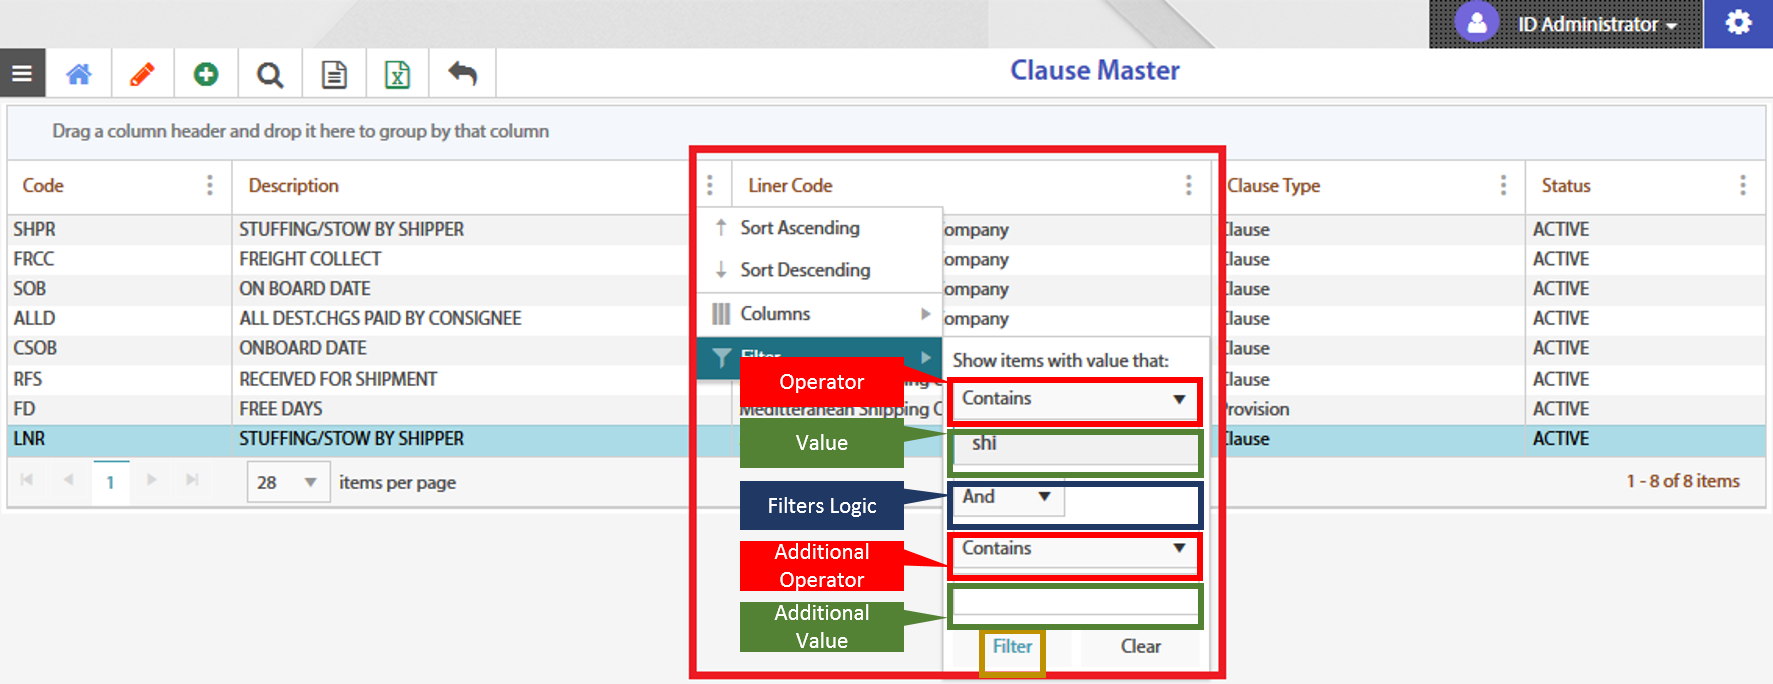
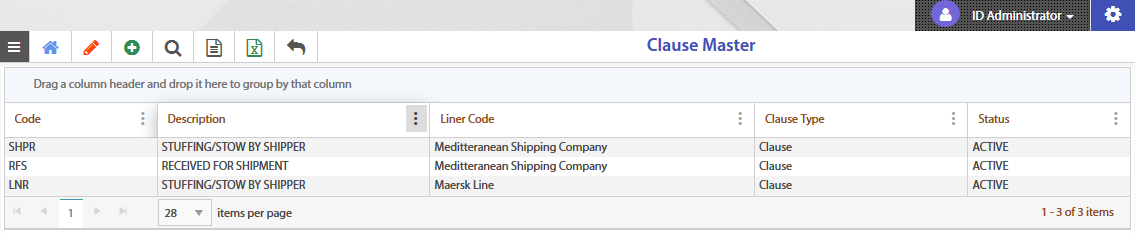
f.Click Filter. The filtered clause masters will be displayed below.
4.Select the required master.
5.Click Edit (![]() ) icon in the menu bar. The Clause Master creation page appears in edit mode.
) icon in the menu bar. The Clause Master creation page appears in edit mode.
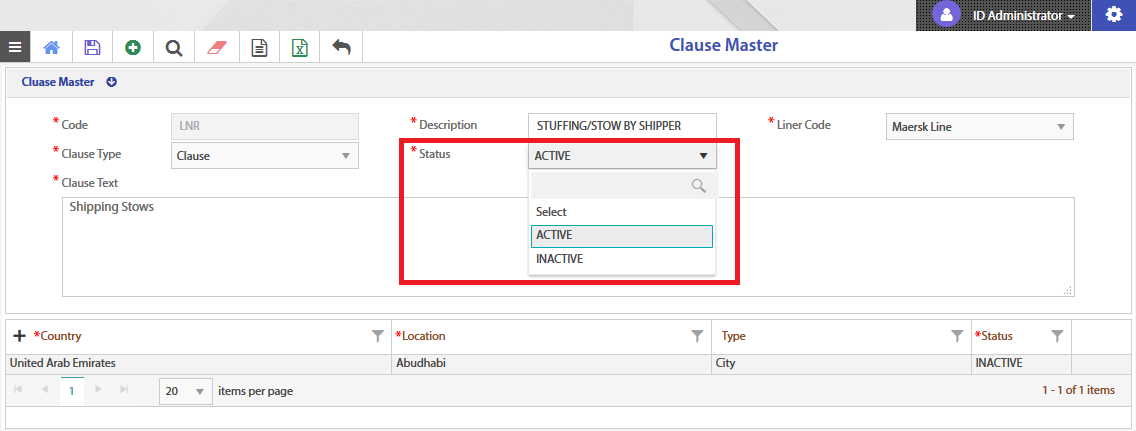
6.Change the Status from ACTIVE to INACTIVE.
7.In the menu bar, click Save (![]() ) icon to save the clause master. A pop-up window appears.
) icon to save the clause master. A pop-up window appears.
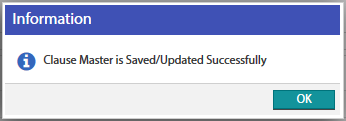
8.Click OK.