Creating Business Type |
  
|
Creating Business Type |
|
To create a business type, perform the following:
1.On the application home page, in the left pane, click Master Business Type. The Business Type workbench appears on the right pane like the one shown below:
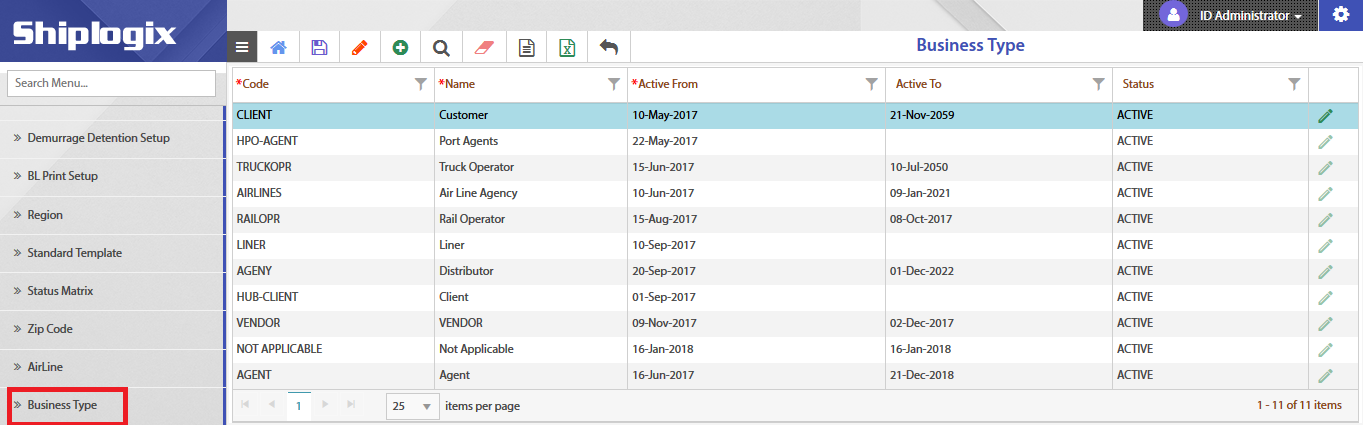
2.In the right pane, click Add (![]() ) icon in the menu bar.
) icon in the menu bar.
3.Under Code column, enter a code for the business type to be displayed in the business partner master.
4.Under Name column, enter the name for the business type.
5.Under Active From column, choose the date from which the business type should be active using the date picker (![]() ) icon.
) icon.
Note: The active from date should not be less than the current date.
6.Under Active To column, choose the date until which the business type should be active using the date picker (![]() ) icon.
) icon.
Note: By default, Status will be ACTIVE.

7.Click Save (![]() ) icon to temporarily save the business type.
) icon to temporarily save the business type.
8.In the menu bar, click Save (![]() ) icon to save the business type. A pop-up window appears.
) icon to save the business type. A pop-up window appears.

9.Click OK.