Creating Charge Group & Charge |
  
|
Creating Charge Group & Charge |
|
To create a charge group & charge, perform the following:
1.On the application home page, in the left pane, click Master Charge Group & Charge. The Charge Group & Charge workbench appears on the right pane like the one shown below:

2.In the right pane, click Add (![]() ) icon in the menu bar.
) icon in the menu bar.
3.Enter Code and Description. By default, Status will be ACTIVE.
4.Click Save (![]() ) icon to save the charge group & charge. The charge master will be created and displayed in the left hand side of the screen.
) icon to save the charge group & charge. The charge master will be created and displayed in the left hand side of the screen.
5.In the right side, click add (![]() ).
).
6.Enter Code and Description.
7.Choose Category from the drop-down menu as Carrier Reimbursement, Agency Revenue, Carrier Collection, Agent Expense, Agent Collection, or Others.
8.Choose Charge Type from the drop-down menu as Air, Sea, Stevedore, Rail, or Truck.
9.Choose Negative Allow from the drop-down menu as Yes or No.
10.Enter GlLink.
11.Choose Exch.Diff Charge from the drop-down menu. By default, Status will be ACTIVE.
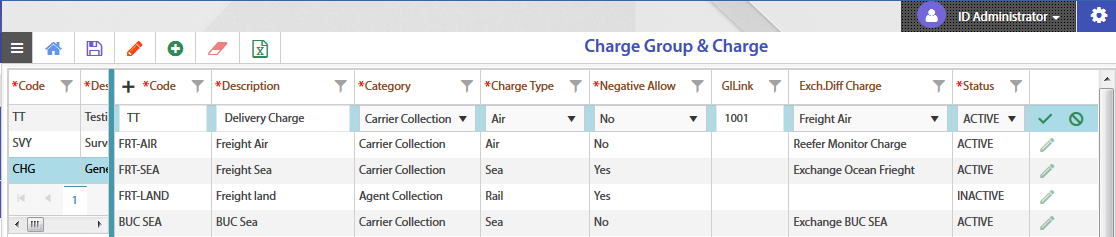
12.Click Save (![]() ) icon to save the charge group & charge.
) icon to save the charge group & charge.
13.In the menu bar, click Save (![]() ) icon to save the charge group & charge. A pop-up window appears.
) icon to save the charge group & charge. A pop-up window appears.
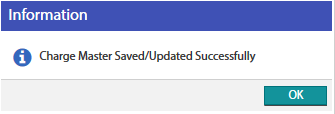
14.Click OK.