Creating Email Configuration |
  
|
Creating Email Configuration |
|
To create an email configuration, perform the following:
1.On the application home page, in the left pane, click Master Email Configuration. The Email Configuration workbench appears on the right pane like the one shown below:
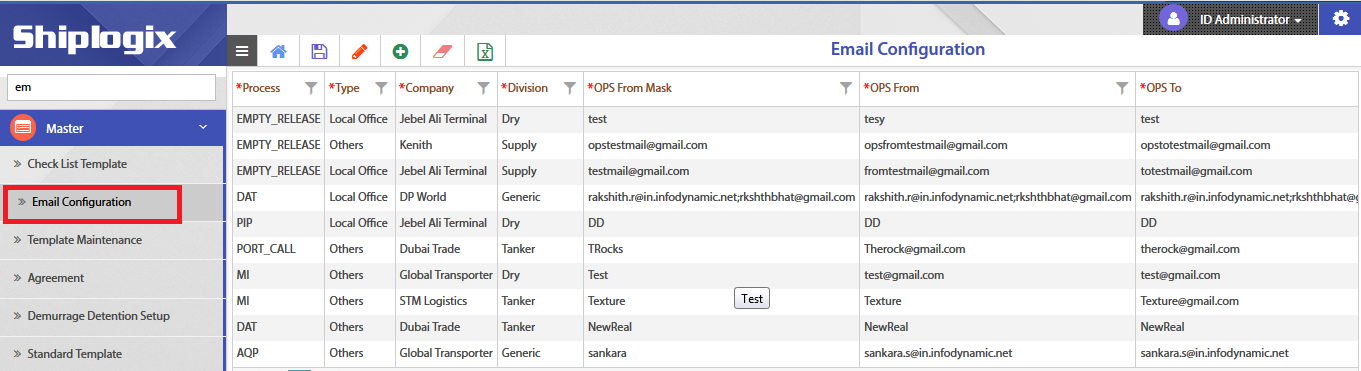
2.In the right pane, click Add (![]() ) icon in the menu bar.
) icon in the menu bar.
3.Choose required Process, Type, Company, and Division from the respective drop-down menus.
4.Enter OPS From Mask, OPS From, OPS To, OPS Cc, ACC From Mask, ACC From, ACC To, and ACC Cc details.
5.In Is Default, enable it to make the email configuration as the default configuration. By default, Status will be ACTIVE.

6.Click Save (![]() ) icon to temporarily save the email configuration.
) icon to temporarily save the email configuration.
7.In the menu bar, click Save (![]() ) icon to save the email configuration. A pop-up window appears.
) icon to save the email configuration. A pop-up window appears.
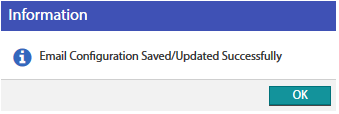
8.Click OK.