Creating Tariff Rail |
  
|
Creating Tariff Rail |
|
To create a tariff rail, perform the following:
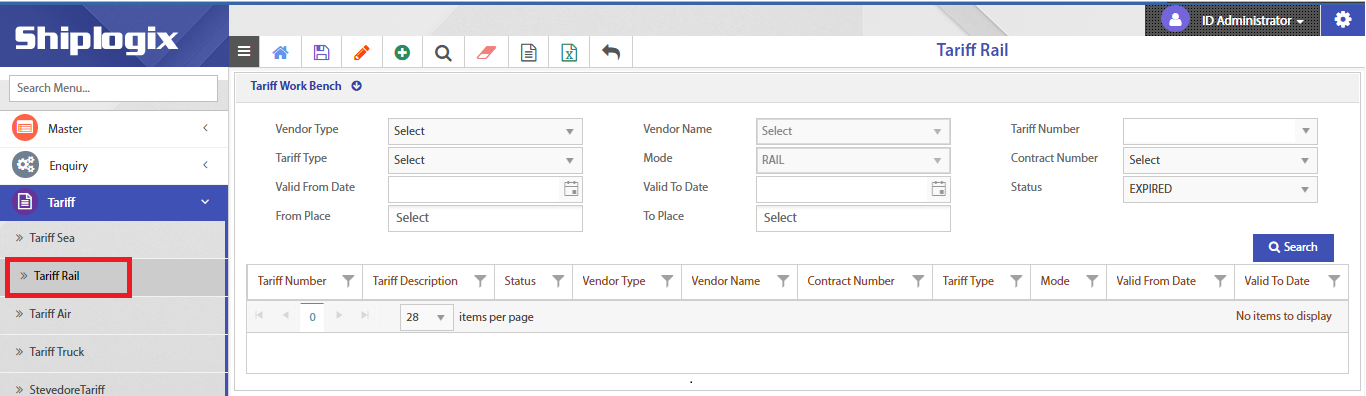
1.On the application home page, in the left pane, click Tariff Tariff Rail. The Tariff Rail workbench appears on the right pane like the one shown below:
2.In the right pane, click Add (![]() ) icon in the menu bar. The Tariff Rail creation page appears.
) icon in the menu bar. The Tariff Rail creation page appears.
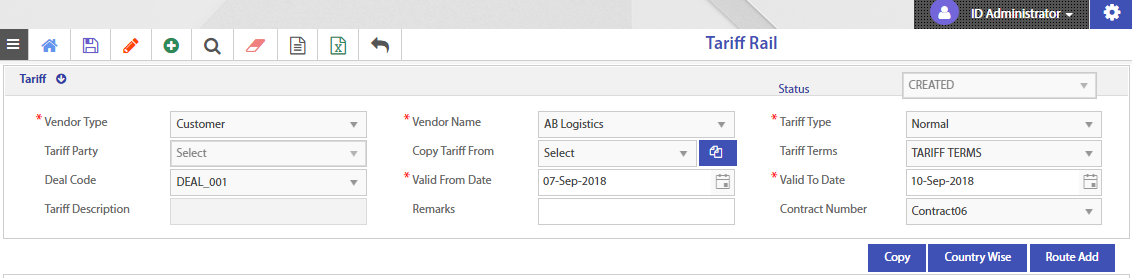
3.In the Tariff header, provide the following details:
i.Choose Vendor Type from the drop-down menu as Customer, Port Agent, Truck Operator, Air Line Agency, Rail Operator, Liner, Distributor, Client, Vendor, Not Applicable, or Agent.
ii.Choose Vendor Name from the drop-down menu.
iii.In Tariff Type, do either of the following:
a.Choose Normal if no discounts are applicable.
b.Choose Special if any discounts are applicable. On choosing special, choose the Tariff Party type from the drop-down menu.
iv.Choose Tariff Terms from the drop-down menu.
v.Choose Deal Code from the drop-down menu.
vi.In Valid From Date, enter the date from which the tariff should be valid.
Note: The valid from date should not be less than the current date.
vii.In Valid To Date, enter the date until which the tariff should be valid.
Note: The valid to date should be greater than the current date. Tariff Description will be automatically generated.
viii.Enter Remarks, if any.
ix.Choose Contract Number from the drop-down menu.
4.In the route grid, click add (![]() ) icon to add a rail route and perform the following:
) icon to add a rail route and perform the following:
i.Under Route Sequence column, choose the route from the drop-down menu. For example, you can choose single or multiple rail routes with or without transits based on your needs.
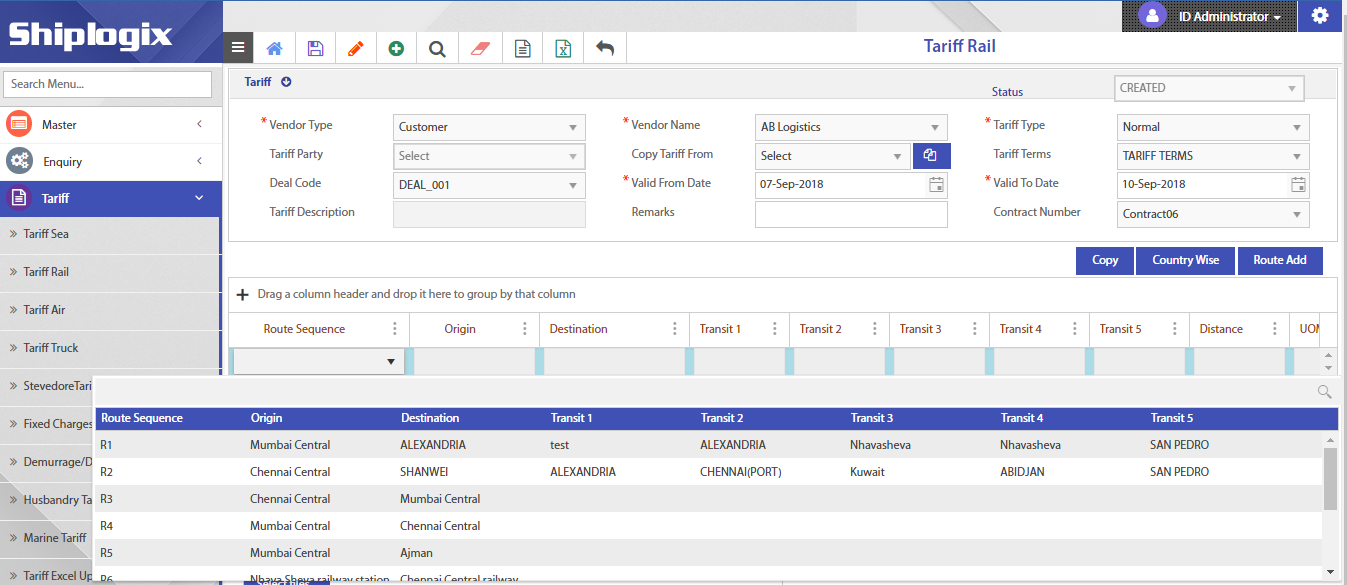
Note: Origin, Destination, Transits, Distance, UOM, Duration, UOM, and Service Type will be automatically populated based on the chosen route sequence. You can also add a route using the Route Add button above the top right corner of the route grid.
ii.Under Status column, choose the status for the route sequence as Active or Inactive.
iii.Click save (![]() ) icon to save the route details.
) icon to save the route details.
5.Add charge to the route by performing the following:
i.Choose the required route created.
ii.In the charge grid, click add (![]() ) icon to add single or multiple charges to the route created.
) icon to add single or multiple charges to the route created.
Note: The add (![]() ) icon will be enabled only on selecting the route. If no route is selected, the icon may not appear on the screen.
) icon will be enabled only on selecting the route. If no route is selected, the icon may not appear on the screen.
a.Under Type column, choose the type of charge to be applied for the route from the drop-down menu as Normal, OOG, Reefer, or IMO.
b.Under Charge column, choose the charge to be applied for the route from the drop-down menu.
c.Under Pay at Location/Office column, choose the location for payment from the drop-down menu.
d.Under Basis Type column, choose the basis for the charge from the drop-down menu.
Note: The Base UOM will be automatically generated based on the type of basis chosen.
e.Under Currency column, choose the respective currency type for the route from the drop-down menu.
f.Under Calculation Method column, choose any one of the calculation methods:
✓Fixed – if there are no variations in the charge. On choosing fixed, under Rate column, enter the fixed rate for the route.

✓Conditional – if the charge is based on shipment or delivery conditions such as duration, volume, weight, and rate. On choosing conditional method, click Condition (![]() ) icon. The Conditions Formula window appears. In Conditions Formula window, perform the following:
) icon. The Conditions Formula window appears. In Conditions Formula window, perform the following:
➢In Condition, add the condition for charge calculation.
➢In Formula, add the formula for the condition.
➢In Rate, add the rate for the condition calculation.
➢Click Add to add the condition.
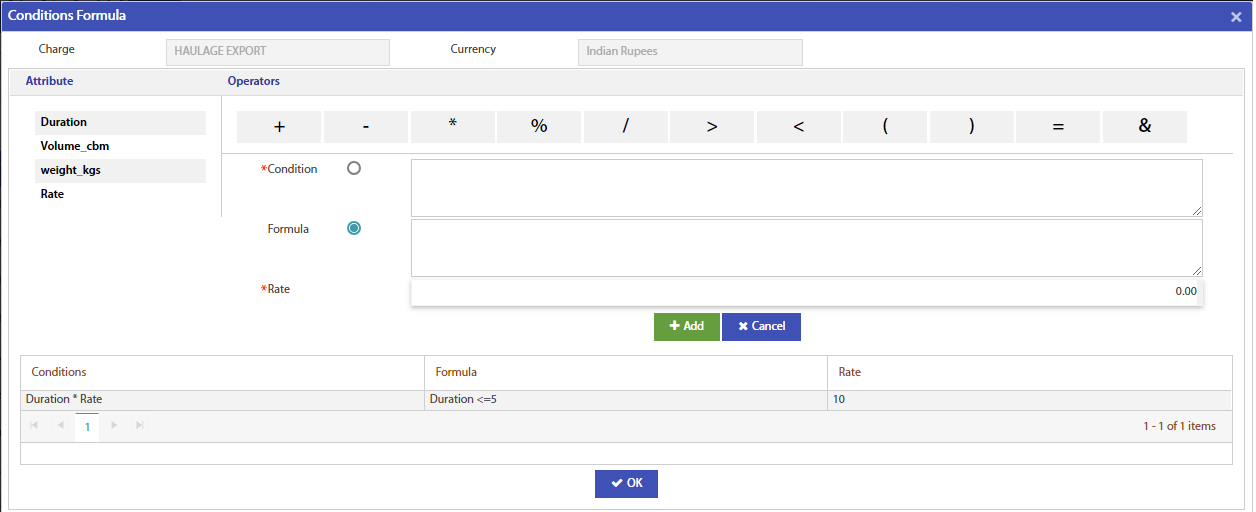
The condition will be added to the below table.
➢Click OK to apply the condition for the charge.
✓Percentage – if any percentage of charge needs to be reduced. On choosing percentage method, enter Percentage and choose Percentage On from the drop-down menu.
g.Enter Remarks, if any.
h.Under Status column, choose the status for the charge as Active or Inactive.
i.Click save (![]() ) icon to save the route details.
) icon to save the route details.
6.In attachments grid, click Select files to upload the documents, if required.

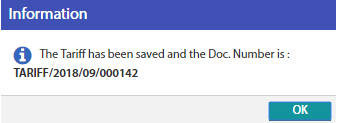
7.In the menu bar, click Save (![]() ) icon to save the tariff rail. A pop-up window with the tariff document number will be displayed.
) icon to save the tariff rail. A pop-up window with the tariff document number will be displayed.