Generating Arrival Notice |
  
|
Generating Arrival Notice |
|
1. Click Manifest >> Arrival Notice in the left navigation pane of the Application home page. The Arrival Notice screen will be displayed as shown below.

Note: Basically there is no separate workbench available.
2.Select or Enter any of the below mentioned criteria.
•Voyage
•Line
•Vessel
•Port
•ETA
•Port of Loading
•Port of Discharge
•Final Destination
•Consignee
•Cargo Type
•BL Number
3.Select the 1st Arrival checkbox if the Arrival notice is sent for the first time [or] select the option Reminder for sending subsequent notices.
Notes:
•User can also select both the options to send both Arrival notice and reminder notices. (but for different BLs)??
•For Reminder notice, the date on which the previous notice was sent will be displayed in the Last Advice Date column and blank for first notice (Refer screens below).
4.Click Populate. The data related to the selected criteria will be loaded in the Details grid as below.
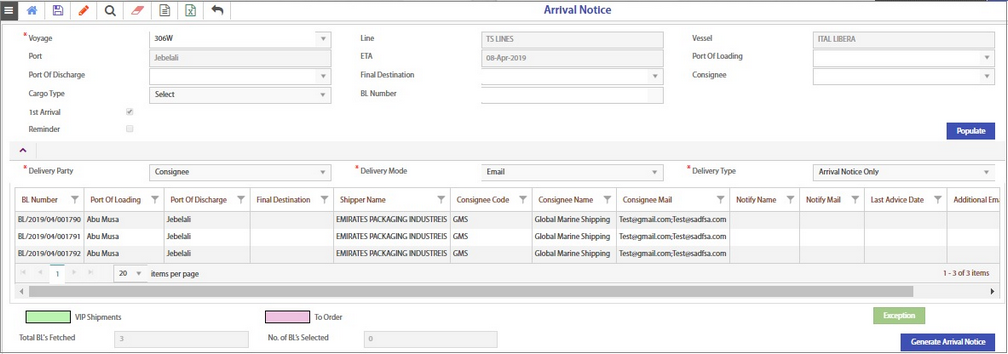
To generate the Arrival Notice, enter the values in the required fields as mentioned below:
a.Delivery Party - Select Consignee or Notify or Both from the drop-down list.
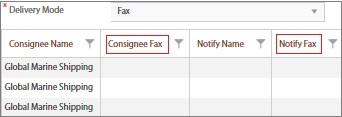
b.Delivery Mode - Select Email or Fax from the drop-down list.
•If Email is selected, Consignee Mail and Notify Mail columns will be displayed in the grid.
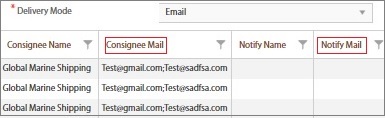
•To send Arrival notice to additional recipients, click the edit icon and enter the email ids in the Additional Email column. This is applicable for Fax too?
•If Fax is selected, Consignee Fax and Notify Fax columns will be displayed in the grid.
Condition
The name, Mail ids and Fax numbers of the consignee and Notify (if applicable) are auto-fetched from the Business Partner Master (must be pre-defined). Refer communication details in the Topic Creating Business Partner
5.Delivery Type - Select Arrival Notice only or Arrival Notice with Flyer from the drop-down list. Difference? where?
6.Select one or more BLs (for which Arrival notice is to be generated) using the checkbox provided at the right end column.
7.Click Generate Arrival Notice. A confirmation message will be displayed for the Arrival Notice generation.
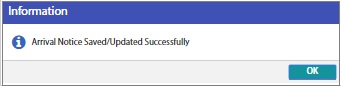
8.Click OK. The generated Arrival Notice will be sent to the consignee or the notify person as email or fax based on the selected delivery mode.
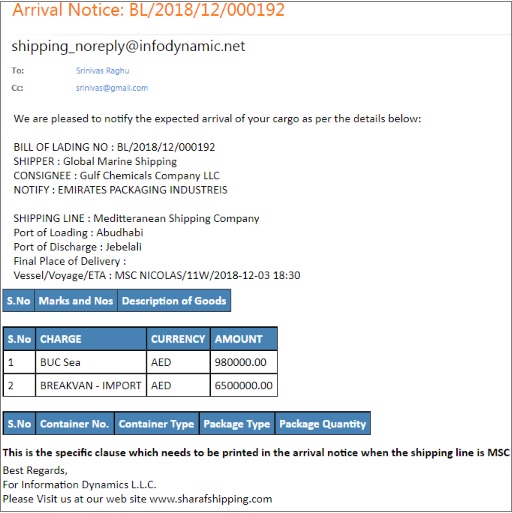
Sample format of Arrival Notice
Additional columns explained:

•At the bottom of the Details grid, there are 2 colored columns Green for VIP customers and pink for To order customers.
•The total number of records loaded in the grid will be shown in the Total BLs Fetched column.
•The number of BLs selected from the grid will be shown in the No. of BL’s Selected column (Refer above image).
•The records shown in green color indicates VIP shipments and pink color indicates To order shipments.
•For To order customers, the arrival notice will be automatically sent to the notify (mail or fax, whatever) by default and not to the consignee?
Sample images shown below.
VIP Shipment

To Order Shipment

Note: The To Order shipments must have been updated in the Manifest Entry Export - Sea